← Back to All Guides
A free guide by Lauren Dallas Instagram

5 Camera Prompts To Make Your AI Photos Look Real

The biggest difference between a generic AI image and something that actually looks like a real photo? It's not always the scene. It's the camera direction. You can take the exact same person, exact same outfit and exact same location - then completely change the feel of the image just by changing the camera settings in your prompt. That means you can upload one photo of yourself, choose a camera style below, paste it into ChatGPT, then simply add the scene you want. Same person. Same prompt structure. Unlimited content.

Your prompt is basically your photographer.

Instead of only telling AI what should be in the image, start telling it how the image should be photographed - the lens, the lighting, the depth of field, the angle, the texture. Once you do that, your images stop feeling like random AI generations and start feeling like intentional content.
Prompt 1

Ultra Realistic

Use this when you want the image to feel as close to a real professional photograph as possible. Best for personal branding, websites, profile images, sales pages and polished social content.

Add your scene: "Create a photo of me sitting at a desk in a modern home office with my laptop open."
Prompt
Photorealistic professional photography captured on a full-frame camera with a 50mm prime lens, f/2.8 aperture, ISO 100, 1/250 shutter speed. Extremely realistic natural skin texture, visible pores, fine facial detail, individual hair strands and realistic fabric texture. Sharp natural focus, true-to-life proportions, balanced exposure, realistic highlights and shadows, subtle imperfections, natural colour grading and high dynamic range. The image should look like a genuine professional photograph rather than AI-generated. No plastic skin, excessive smoothing or artificial retouching.
Step 2

Soft Lighting + Blurred Background

Use this when you want that soft, expensive photoshoot look where the subject is beautifully lit and the background melts away. Best for portraits, lifestyle content, cafés, fashion and softer personal branding.

Add your scene: "Create a photo of me sitting outside a café drinking coffee."
Prompt
Soft natural portrait photography captured on a full-frame camera with an 85mm portrait lens at f/1.8, ISO 100, 1/320 shutter speed. Very shallow depth of field with the face and eyes in crisp focus while the background falls into soft creamy bokeh. Gentle diffused lighting wrapping naturally around the face, soft highlights, delicate shadows, subtle skin texture and flattering tonal transitions. Dreamy but realistic background separation, natural lens compression and clean editorial colour grading. Soft, bright and polished without looking over-retouched.
Step 3

Wide Angle + Unique Angle

Use this when you want an image that instantly feels more creative - unusual compositions that make the environment part of the story. Best for scroll-stopping social posts, travel, fashion, founder content and creative campaigns.

Add your scene: "Create a photo of me walking through an airport pulling a suitcase, photographed from a slightly low angle."
Prompt
Dynamic wide-angle photography captured with a 24mm lens, f/4 aperture, ISO 200, 1/500 shutter speed. Camera positioned at an unusual editorial angle rather than standard eye level, using perspective and foreground elements to create depth. Wider field of view showing more of the environment around the subject. Slightly exaggerated perspective while keeping the person naturally proportioned. Strong visual composition, leading lines, layered foreground and background, crisp environmental detail and realistic natural lighting. Modern editorial photography with a bold, creative and unexpected perspective.
Also try adding
"camera positioned close to the ground," "shot from slightly above," "subject positioned at the edge of the frame," "foreground object partially obscuring the camera," or "camera placed behind a table." Those little directions can completely change the image.
Step 4

Casual Candid Camera

Use this when you want the photo to feel like somebody happened to catch you in the moment - less photoshoot, more "a friend took this." Best for Instagram, founder content, behind-the-scenes, day-in-the-life posts and lifestyle imagery.

Add your scene: "Create a candid photo of me sitting at a restaurant laughing while looking away from the camera."
Prompt
Natural candid lifestyle photography captured with a 35mm lens at f/2.8, ISO 400, 1/500 shutter speed. The image should feel spontaneous and observational rather than posed. Slightly imperfect framing, natural body positioning, authentic facial expression and subtle movement in the hair or clothing. Subject may be looking away from the camera, mid-action or interacting naturally with the environment. Available natural light, realistic skin texture, gentle contrast and understated documentary-style colour grading. The photograph should feel like it was casually taken by another person in the moment.
Step 5

Light Film Camera + Grain

Use this when you want that slightly nostalgic, cool film-camera look without making the image dark or overly vintage. Think bright holiday photos, disposable camera texture and effortless editorial content. Best for travel, summer content, lifestyle, fashion and more relaxed personal brands.

Add your scene: "Create a photo of me walking along the beach in the late afternoon holding an iced coffee."
Prompt
Light film photography aesthetic captured on a 35mm film camera with a 35mm lens, f/2.8 aperture, ISO 400 film stock and natural available light. Bright airy exposure with slightly lifted highlights, gentle contrast and soft natural shadows. Fine visible film grain, subtle colour variation, lightly faded tones and authentic analog texture. Slight imperfections in focus and exposure, realistic skin tones, natural warmth and a subtle nostalgic quality. The image should feel like a high-quality film photograph rather than a heavy vintage filter — grainy, light, effortless and natural.
Real Talk

You only need three things: reference photo, camera prompt, scene.

Your full prompt could simply be: "Use the uploaded photo as the identity reference for the person. Keep her recognisable facial features, hair and overall appearance consistent. [Paste one of the camera settings.] Scene: Create a photo of me walking through a beautiful hotel lobby holding a coffee and laptop bag." Then generate another one and only change the scene - airport, coffee shop, office, beach, restaurant, speaking event, hotel, car, kitchen, walking through a city. The camera prompt stays the same. The scene changes. That's how one selfie becomes an entire content library. And the best part - you can run the exact same scene through all five camera styles and get five completely different pieces of content without needing five different ideas.

If you want to learn more on how you can use AI to save yourself time, I have a free training on how I use AI to create 30 days of content in 10 minutes you can watch. 👇
Free Training

How To Create 30 Days Of Content In Just 10 Minutes Using AI

A free 60-minute live training revealing the done-for-you AI system that plans, writes, and schedules your social media automatically — saving you 20+ hours a week, without a VA, agency, or spending all day at your desk. We'll walk through every step live, so you leave knowing exactly how to run it yourself.

You'll walk away knowing:
01 The AI advantage, and why you'll be left behind without it
02 How to delegate 20+ social media tasks without a VA, Canva overwhelm, or ChatGPT confusion
03 How to create a month of content in minutes, live on screen
04 Why "doing it all yourself" is costing you more than you think
Webinar preview
Real Results ★
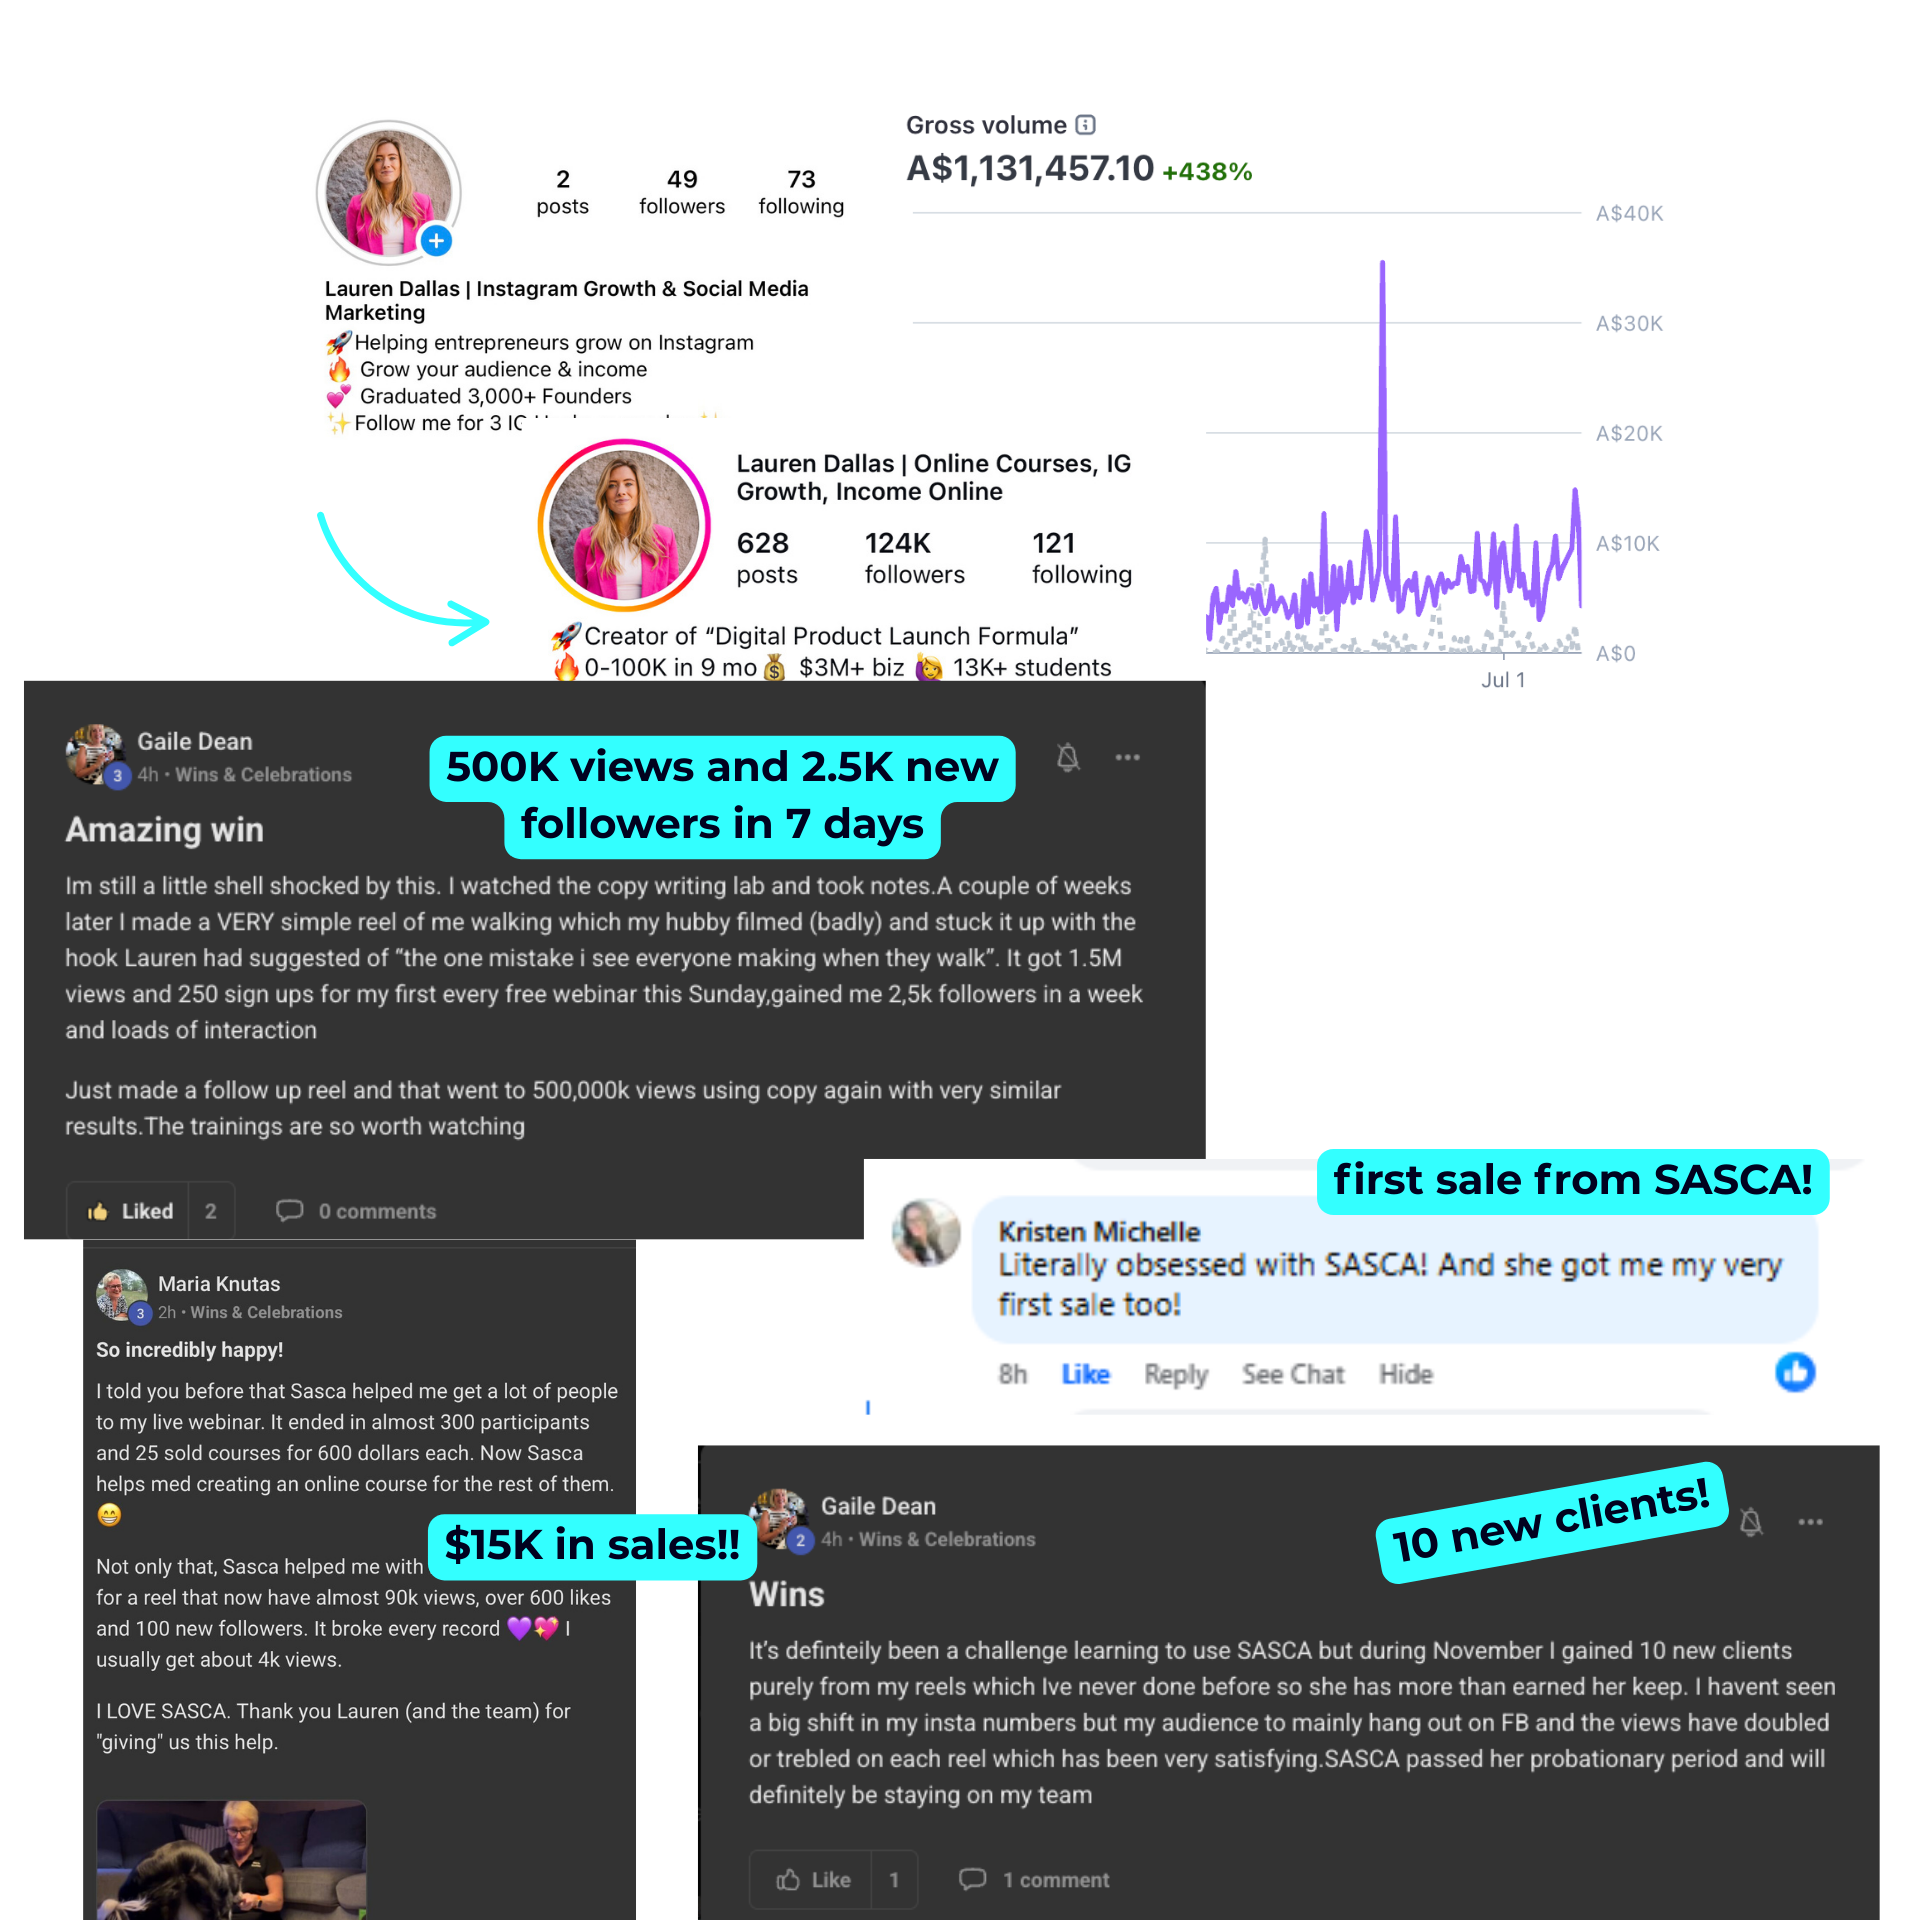
Student resultsStudent results
© 2026 Lauren Dallas Creator Hub · Free Content